A little info first off. Textures and patterns can be found on tons of sites on the net. All you have to do is a little google search and you are all set. Here's a few sites that I've found very usefull:
Fabric Patterns
Fabric Patterns
Mayang's Texture Site
Textures
cgtextures
Textured and patterned samples come in various sizes, so you'll need to adjust it according to your project's needs, either by cropping, enlarging, or making it a seamless tile if possible. Keep all of your downloaded patterns and textures in one folder some place on your computer. You should NOT put them into your default PSP program's file. If you do, it will take forever to load when you startup the program. They don't have to be installed for you to use them in a project. When you need one, all you do is open it up from the file menu in psp, and then you can minimize it, and you will be able to use that way. That goes for fonts as well. Anyway, on to the fun stuff.
We are going to start off with a simple flower preset shape and a denim pattern. I've included both for you in THIS ZIP FILE. Feel
free to use your own though.
1. Open up a 500 by 500 new transparent image.
2. From the File menu, open up whatever pattern you've chosen to use and minimize it so it's not in the way.
3. Turn off your foreground colour by clicking on the tiny icon below it that looks like a circle with a line going through it.
4. Now, click once on the background materials box and find the Pattern tab. Use the down arrow and find your pattern you have selected to use. You can change the angle to whatever you wish, but for this, I'm going to leave it set at 0 and a Scale of 100. Click OK when you are done.
5. Go to your Preset Shapes tool and choose the 5 sided flower with the hole cut out of the middle. (I don't remember if this shape came with psp or where I got this, but I've included it in the zip just incase.) Create as vector and Anti-alias are both checked.
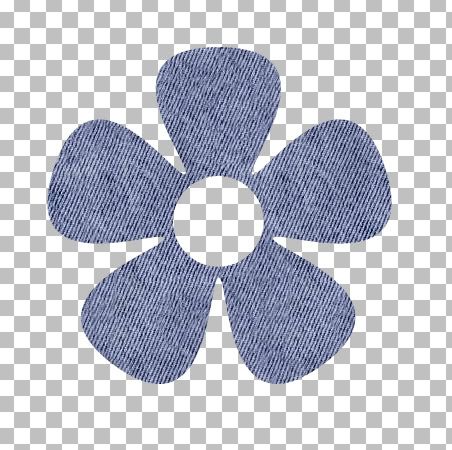
6. Place your cursor somewhere near the top left corner of your canvas, hold down the shift key, and draw out your shape. You should have this:

7. In the layer palette to the right, right click on Vector 1 and choose Convert to Raster Layer. It looks kinda flat so we are going to give it a simple bevel to make it a bit more 3D.
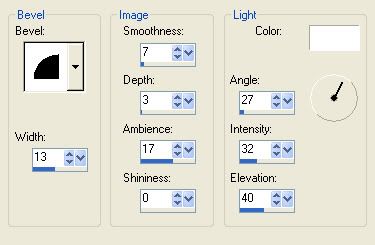
8. Go up to the Effects tab, then to 3D Effects, then to Inner Bevel. For a slight bevel, use the settings below:

Before clicking the OK button, fool around in there a little bit by changing the bevel settings to see what else you can come up with. If you find a particular setting you like, at the top you will see an icon that looks like a tiny square floppy disk. Click on that, and a box will pop up that will allow you to save all those settings to use another time. Give your preset look a name, and click ok. When you want to try that out on another project, just click on the drop down arrow at the top, beside where it says presets and find the one you want and click ok. It saves you a lot of work on resetting the numbers every time.
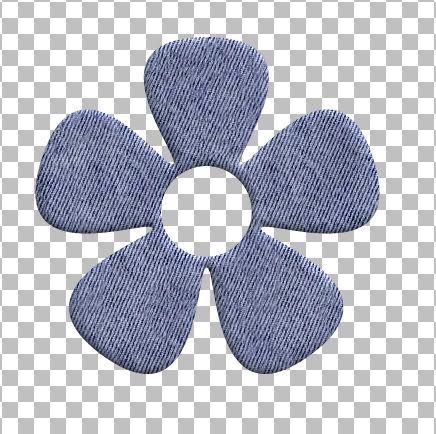
If you've used my settings from the above picture, this is what you should have:

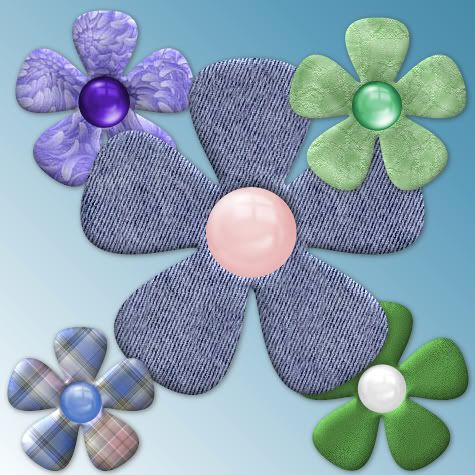
9. You can choose anything you want for the middle, but I'm going to put a pearly bead tube I've made in there. You can download my pearls on my blog Here


Thank you so much ! I have been going thru you blog and have learned so much already in short time and so easy to follow ! I'm in PSP heaven !